Showing posts with label 2 Step Owl punch. Show all posts

Wednesday, October 19, 2011

Spooky Cute Monkey Challenge

Fun with the A La Card Monkey this week as well ... click the link to check out how others were inspired!

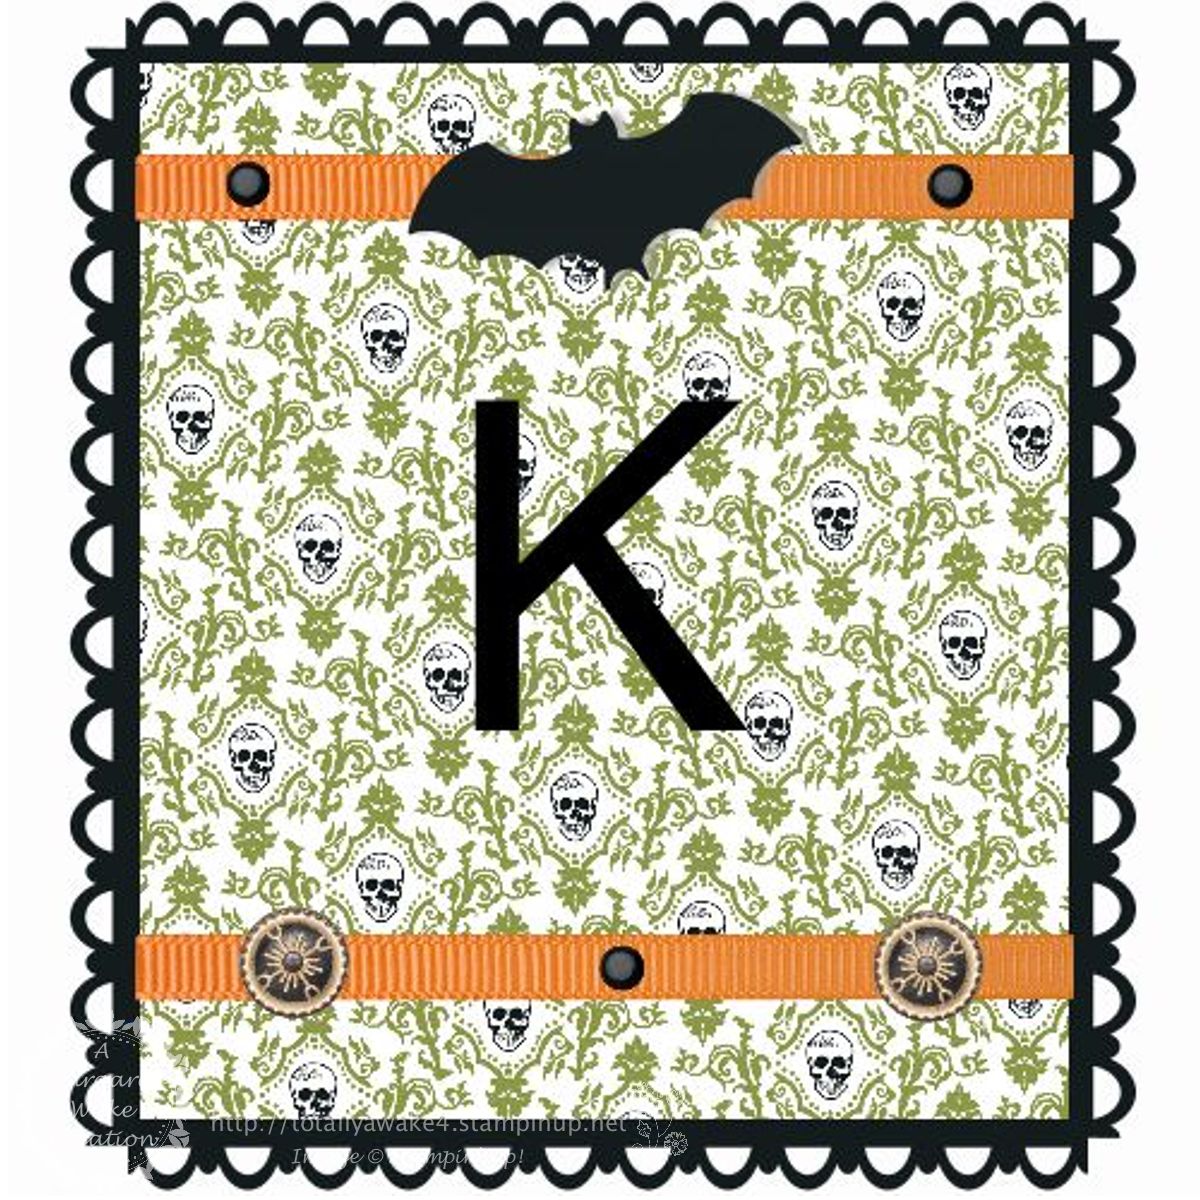
Here is my take on the sketch ... making use of the Fright Night DSP and my Wicked Cool stamp set!

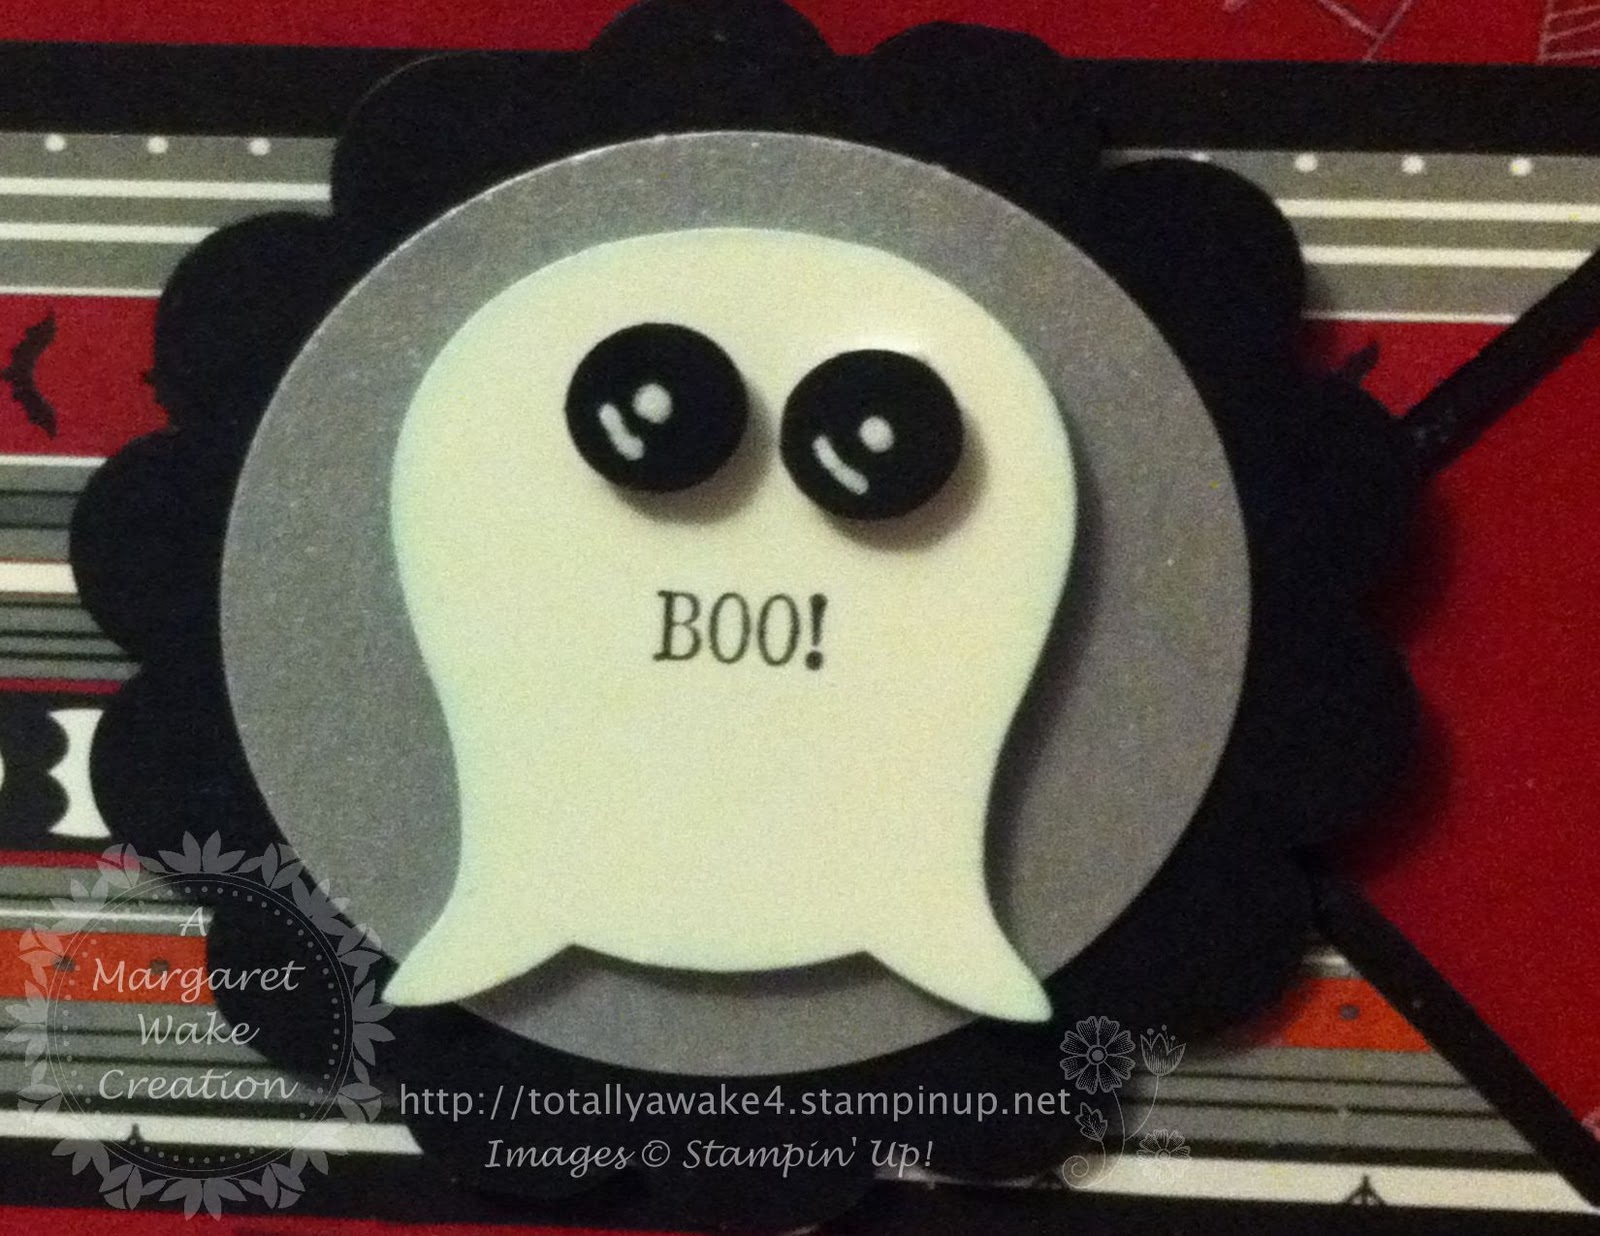
Of course being a punch addict - I love that the Owl builder punch can be turned into a spooky ghost and also that the Tiny Tiny tags boo makes an awesome mouth sentiment for him!


I wanted some brads for this section but realized I was out of the 'black' ones - so I made my own glitter 'brads' by using some Chrystal effects and black glitter!

Thanks for stopping by and leaving so many encouraging comments!

Happy Stampin
Margaret

Wednesday, January 12, 2011

Christmas 2010 Scrapbook

A little quick offering as it has been a busy day today - got to go see the Titanic Exhibit in Kitchener - it was totally awesome but the emotion of seeing all those artifacts and the loss of life the represented has me wanting to curl up with Paul and just be thankful for all the blessings in my life - cause life is too short and you just never know when your light will go out!

So here is this years Xmas scrap layout using My Digital Studio and my first attempt a making a layered bow with the Seam binding embellishments!

Sunday, November 21, 2010

Joy Banner - traditional style

So here are my 'traditional' Joy Banners created from my digital template!

Horizontal Banner ... admitting I did not like the way this one hung on the wall - so I did it over again ;)Second time is a charm ... here is my Vertical Joy banner which I was happier with the way it hung ... well that and in my home I totally have more places to hang a vertical designed banner than a horizontal one.

I designed the 5 panel Banner so that if I wanted I could have the option to create one that either says Joy, Peace or Love depending on my inspiration. I went with the Joy because I wanted a 'winter' theme that could stay up past Christmas and well it allowed for the Ariel Snowman to be incorporated into the O and I am just in love with snowman this season!

So my first panel is Mr Christmas Owl in his fancy vest showcased on the polka dot embossed whisper white paper!

The letter J encased on the ornament punch which was stamped with the polka dot ornament from the Delightful Decorations set and the Serene Snowflakes in the background.

Letter O panel features a Ariel view snowman punched with our circle punch, arms are from the 2 Bird punch set with brad eyes, real red grossgrain ribbon accents.

Letter Y panel is embossed with the Northern Flurry folder and paired with the 2 Step Bird to make a Christmas Cardinal and of course some Rhinestone bling!

Final Panel with the Tags til Christmas stamp set punched out with the ornament punch in the Baja Breeze ink with a little Rhinestone bling paired with some Vanilla Smooch Spritz to add some glitter!


Friday, November 19, 2010

Joy Banner

I am preparing for next weeks Holiday Stamp a Stack and wanting to create a JOY banner as one of our projects - one of the things I really enjoy about My Digital Studio is being able to plan out a project digitally before creating it the real thing ... so here is my digital banner layout and now I am off to the craft room create the real one which I will share tomorrow to show the difference!


Thursday, October 14, 2010

Traditional Spooky Banner

As promised here is the traditional paper crafted Spooky banner for my upcoming Halloween Stamp a Stack afternoon!

This project uses the Clear Scallop Square Bigz Die as the base of each panel and each panel is attached to the long strand of black satin ribbon and tie is made with our Pumpkin Pie Grosgrain Ribbon!

S panel in Rich Razzleberry cardstock spritzed with Silver Smooch Spray and sporting our cute 2 Step Owl sitting on the branch from the 2 Step Bird punch. Letters are cut using the Timeless Die Cut set for the Big Shot.

P panel is using the Wicked Cool designer series paper and accented with the Wicked Cool Spider web stamp and a hand punched spider using the circle punch and some photo corners and our Bitty Bat punch in the opposite corner.

O panel with Old Olive cardstock and the Wicked Cool Witch Hat, Boots and bats stamps and spritzed with Vanilla Smooch Spray.

O panel in Basic Black cardstock embossed with Spider web folder and sponged with Whisper White ink and adorned with a couple punched spiders (not Stampin' Up unfortunately - but my hands are not so good for cutting out a spider by hand and we do not carry a spider punch yet).

K panel with Pumpkin Pie and embossed with the Polka Dot emboss folder and adorned with the Bitty Bat and a hand punched ghost using the wings from the 2 Step Bird punch.

Y panel with the Wicked Cool Designer Series paper and some more handmade ghosts using the 2 Step Bird punch.

Wednesday, October 13, 2010

Spooky Banner template

Below is the template layout for a Halloween Decor decor banner I am working on for my upcoming Halloween Stamp a Stack this Saturday ... if you have not already signed up don't miss out I have lots of great ideas to share on how to use paper crafting and stampin' to decorate and there are only a couple spaces left!

So I have used the My Digital Studio to help me with the colours, layout of embellishments and so forth than later tonight when I can have some uninterpreted time in the craft room I can whip up the real thing! Another thing to love about the My Digital Studio ... you can map out a template for your projects without using up your paper with any 'duds' that seemed awesome in your head but did not translate into real life ... with the digital option there is not waste cause if you do not like what you created you just move it around until you do and than hit save!

Now the real thing will not look exactly the same cause with real life there are some more techniques and stamps and so forth I have as an option that I do not yet have for the My Digital Studio so check back tomorrow morning for the 'real thing' to see how it came to life for me!